I hope everyone is enjoying their easter! Norway is lovely at the moment with plenty of sun and the sound of birds and nature waking up again.
Between gardening chores and preparing for summer I decided to spend a little time with Claude to spice things up a bit on the NodeJS side – and write down some reflections on where Quartex is going.
Where are we right now?

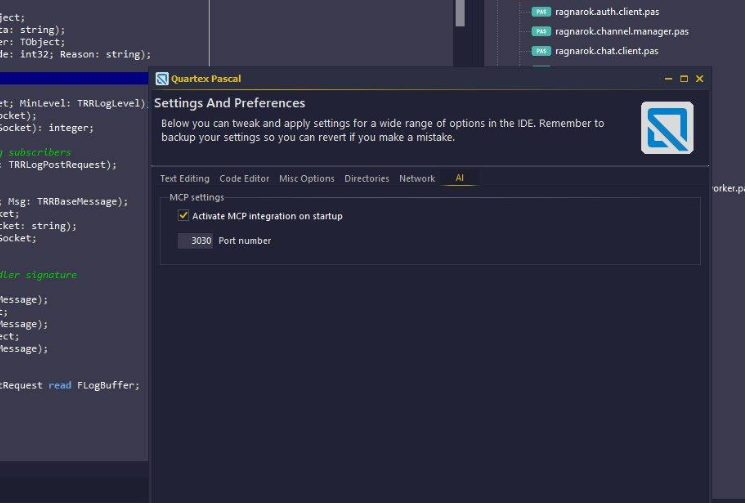
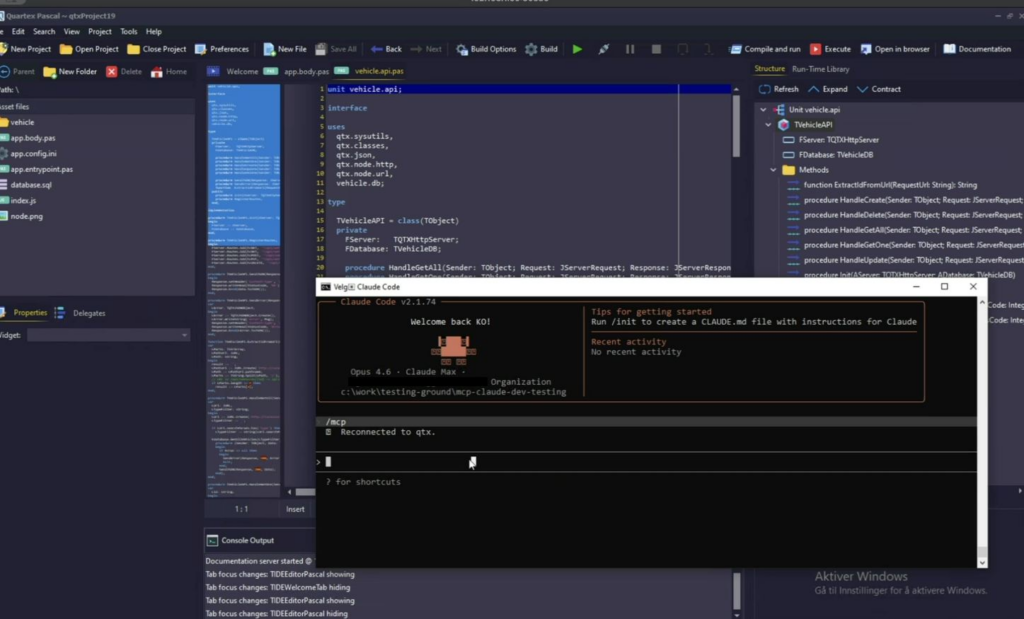
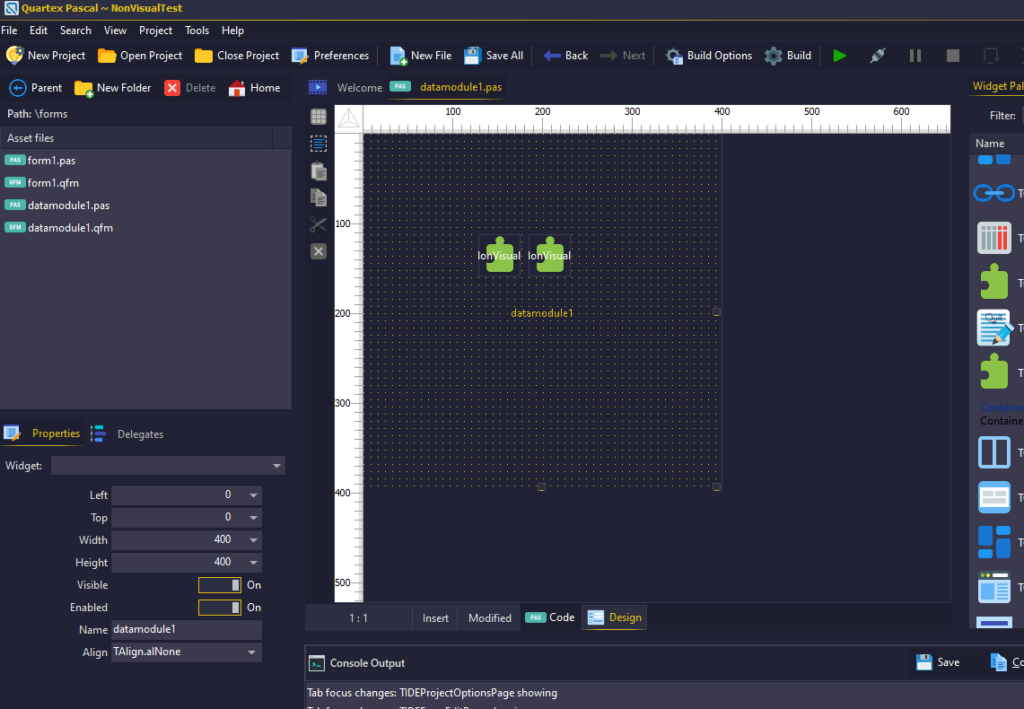
The roadmap we had setup to span the entire year has (architecturally) more or less, been completed in half that time (a few tickets left like drag & drop database). We have support for datamodules in the bag, we have support for non-visual components (a pre-requisite for data binding) – and we have added a full MCP Server for deep AI integration directly into the IDE.
I feel the IDE now covers the fundamental features you expect from an IDE, but obviously with room for refinement, improvement and expansion.
What I mean with refinement is to take a feature that is already there and simply make it better. A good example is the search and replace dialog. The dialog itself works fine, but a normal ‘quick search’ panel that appears beneath the current editor tab-page is what people are used to from Delphi and Visual Studio. The old dialog will still be there, but only appear when you want it to.
There are several such cases in the IDE, cases where we have the baseline functionality in place – but it could use some specialization and polish. I don’t feel there too many such cases, but enough that you notice them. So we have a few such ‘sub tasks’ that we will be doing.
Going forward
If we look at the IDE as a tree with a several branches, who in turn have child branches of varying complexity -the following off-shoots will see more love as we move forward:
- IDE behavior
- Missing details, general polish and refinement
- Search & Replace (covered above)
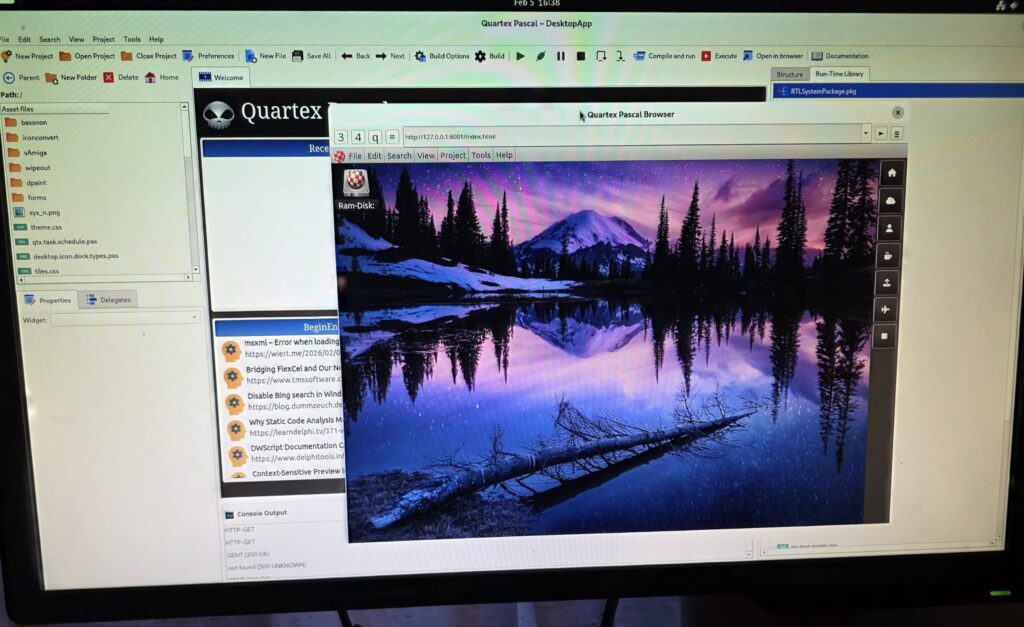
- Welcome tab is too heavy. Get rid of the browser instance and instead have a clean, native, to the point welcome page.
- Expose more options for toolbars and panels in popup menus, making it easier to tune the IDE as you want it. This can later be expanded so be loaded/saved. I dont feel layout config files are needed unless we allow drag & drop re-orientations of the IDE elements (e.g being able to drag the inspector and place it somewhere else). We can return to this for the Lazarus build later, as Lazarus have some good platform independent solutions for this.
- Reduce themes to ‘dark’ and ‘light’, no need to ship a myriad of themes nobody actually uses. On Linux and MacOS we have to follow the system themes either way
- Automatically switch editor colors based on theme. This is only really possible if we settle on a “light or dark” scheme. Right now there is no way to know what colors match any given theme, and having separate color-set-files for each theme is overkill.
- Do a better job with the default colors for the code-editor. Right now Pascal and JS looks ok, but the other supported filetypes could use some adjustment.
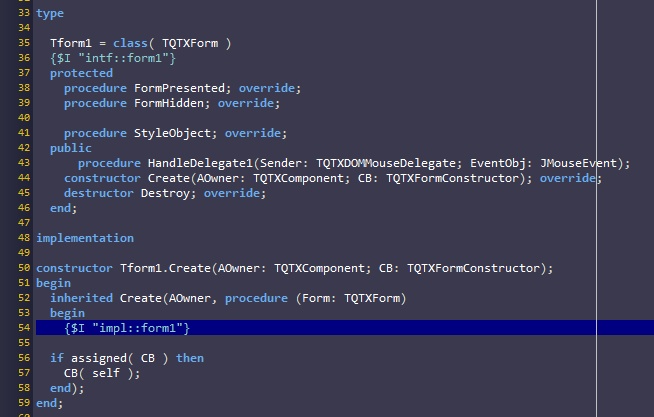
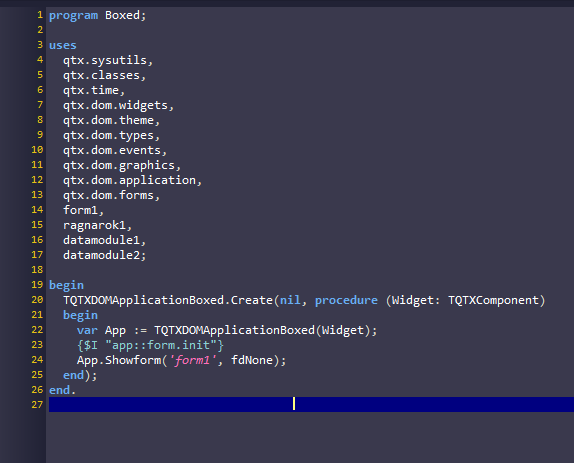
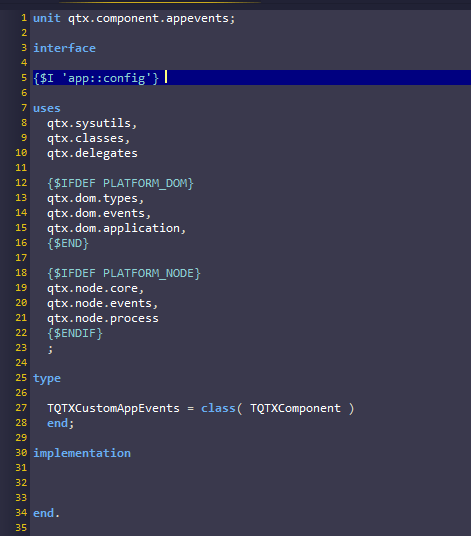
- implement missing language syntax to our unit interface parser. Right now the parser expects the ‘unit’ syntax rule to be followed. ‘program’ must be added, and it should handle units with no unit or program declarations without throwing an exception.
- Add support for missing “property xyz: TType read external ‘sym’ write external ‘sym’ [default xyz];”
- Add support for partial external class. While only useful when wrapping a library compiled with QTX, the parser needs to deal with it
- Add better support for method declarations in classes (e.g “method xyz: boolean” is the same as “function xyz: boolean”).
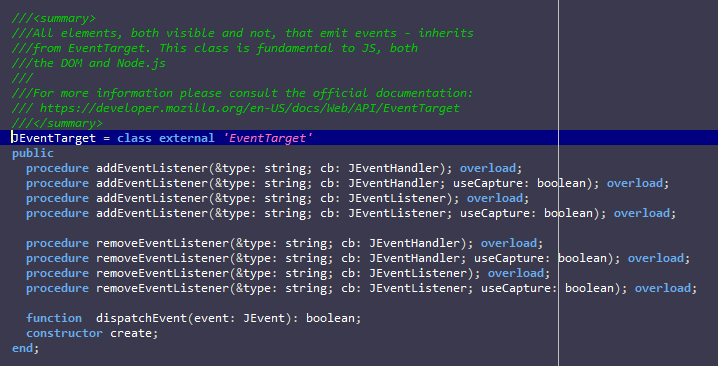
- Add support for robo-help extraction, so that ///<symmary> blocks can be extracted from the source-code and exported as a JSON documentation stub, markup or HTML.
- Add IDE support for JSON documentation stubs. If a package ships with such stubs they should be cached by the IDE (extended help). This is especially useful for AI which will query about classes and methods, and the IDE will be able to answer quickly when there are 1:1 direct match on entity names.
- Make internal logging more consistent, there are still spots where logging only happens when an error occurs, while other parts of the IDE is better at logging circumstantial info that can be useful when hunting for complex issues. We need both, and it must be consistent throughout the entire codebase.
- Export log viewer as a separate application. This helps keep the codebase lean and the log viewer will not be affected by UI locks within the IDE process should they happen.
- The component palette needs to support user-defined categories. Just our own system packages will quickly fill up the list once all the classes that should be TQTXComponents are upgraded, and it will quickly become difficult to maintain. Especially when third party packages start growing.
- Missing details, general polish and refinement
- AI and LLM integration
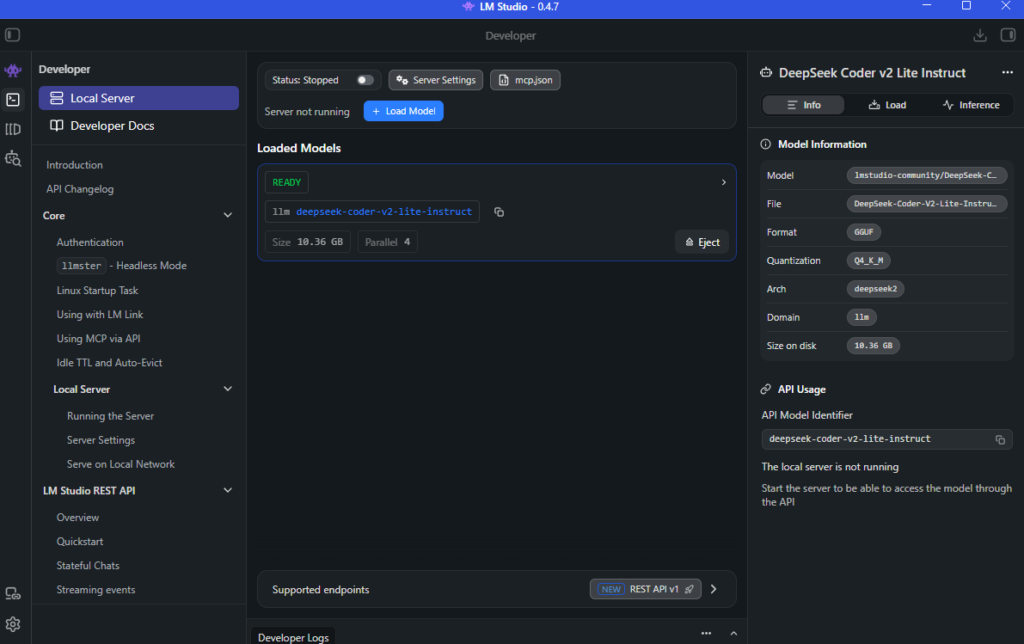
- Look at ways to add closer integration with local LLM runtimes like LM-Studio, so free models can be used with the IDE in a similar fashion as Claude.
- Search LAN for LM-Studio instances (if possible) for easier overall use
- Implement our own console window for LLM use directly in the IDE
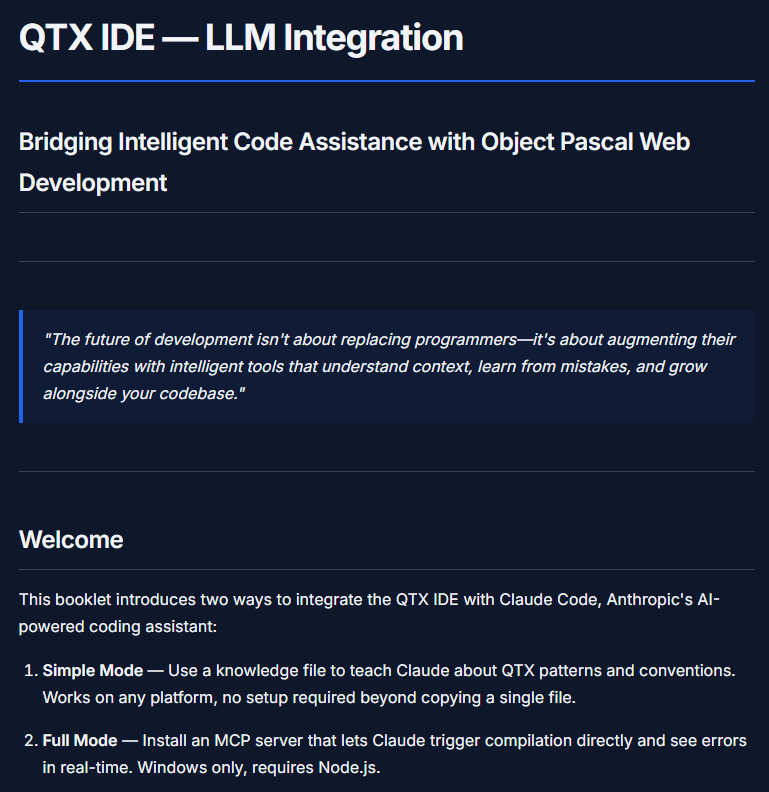
- Add support for more local clients. Currently the IDE can emit claude.md into new projects which teaches claude what our MCP server offers and general language guidelines. Other online AI vendors have similar but different init structures
- Look at ways to add closer integration with local LLM runtimes like LM-Studio, so free models can be used with the IDE in a similar fashion as Claude.
- Project support
- Allow the IDE to have multiple projects open at the same time, with a simple way of moving between them
- Add support for project groups (*.qprg file-type needed), which can be very powerful in client / server debugging scenarios. Personally I prefer to open two instances of the IDE.
- Explore PhoneGap and React project types for building native binaries directly from the IDE
- Add support for turning a node server into native apps. This functionality is already there, we just need to expose it in the IDE
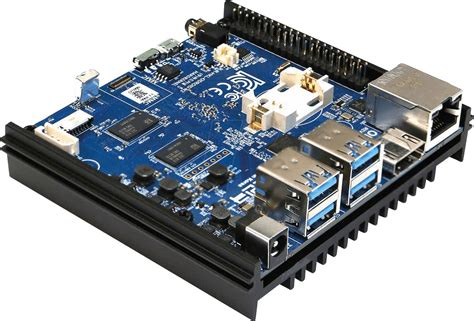
- Look at adding Arduino and Micro-controller project types, as well as DB projects with a ready to use setup – and other project types that would simplify getting started
- Form design
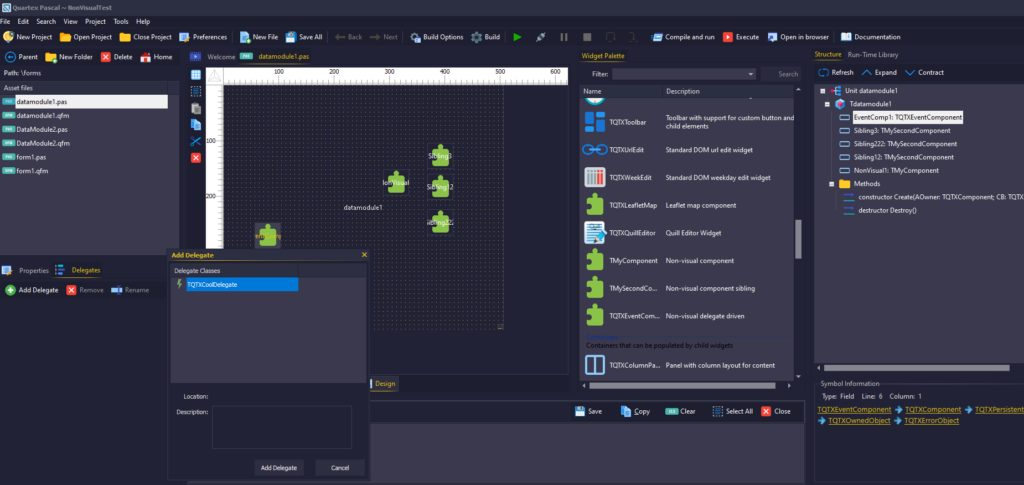
- Captions for non-visual components
- Redraw composition and region sorting
- Collection pattern: Add support for visual management of TQTXCollection and TQTXCollectionItem’s
- Designer behavior isolation: Right now the behavior of the form-designer is a part of the actual design control and largely triggered by mouse-down, mouse-move and mouse-up handlers. These should be isolated as a separate component. Once isolated this allows us to implement different behaviors separately in a clean way.
- Vertical designer: Right now we have a normal form designer, where controls can be positioned anywhere, or aligned to a particular edge or client region. A top-down designer that operates with horizontal panels stacked one after the other -panels that always are 100% in width, is much more suited for top-down web pages. The same design philosophy is used by GTK on Linux (and QT Creator for that matter) to ensure proportional form layout regardless of scaling size.
- Offscreen WYSIWYG HTML5 live rendering: We need to explore what the QT Framework (which we use for multi platform builds) can deliver. On Windows with a clean offscreen Chromium wrapper it’s relatively simple to do live rendering, but we would need to make it work on Windows, Linux and MacOS for both x64 and ARM. There are some smaller alternatives, like HTMLComponents and Pixie, but again — it needs to be tested first.
- RTL and code generation
- Threading
- DFM to code
- Unit interface parsing
- Thread the build process (partially done)
- Ragnarok
- Implement protocol client codegen. This will expose the client side messages as easy to use methods (e.g fClient.Login( .. ), fClient.DoSomething( .. ) and so on).
- Implement protocol server codegen. The generated component(s) exposes server side responses as easy to use handlers. Protocols are always client-initiated, so the handshake and any replies are always in response to a client calling. The relationship between request and response messages is defined in the protocol designer.
- Implement IQTXTransport interface for all supported network objects (http/s, websocket/s, udp, tcp/s etc). This allows an attached ragnarok client or server to ‘peek’ at incoming data, and take ownership of a received message. This way the same TQTXHttpClient or TQTXHttpServer component can be shared by several tasks without colliding. You can drop a TQTXHttpClient component and use it for posting data to a website, and at the same time have a protocol using it as a transport medium without the two tasks colliding.
- Threading
- The entire RTL has plenty of classes that should be lifted up to TQTXComponent, but it will take time since the RTL is large and changes can have unexpected consequences if not properly planned
- NodeJS specific
- Move all server and client types up to TQTXComponent
- Cover more modules, both standard and popular NPM modules
- Generate wrappers for more database types (postgres, firebird etc)
- Add support for automatically created datamodules for all node.js projects. This requires changes in the build-config and also TQTXApplication and how child objects register.
- NodeJS specific
- Documentation
- NodeJS needs to be properly documented, as well as all the default widgets. There is also a lot of ‘how to’ and general understanding that should be added. While a lot of self-evident to developers that already know object pascal, be it they come from Delphi or Lazarus, being able to find reliable info directly in the product is obviously important
The above points are not carved in stone, but rather what I am thinking about at the moment. Some might be pushed forward once we publish our next roadmap, others might be finished before it even becomes a ticket on the map.
AI and the future
Instead of relying solely on Claude, which can get expensive if you are using AI heavily on larger projects – we have actually taken the step of training our own QTX specific LLM model from scratch!
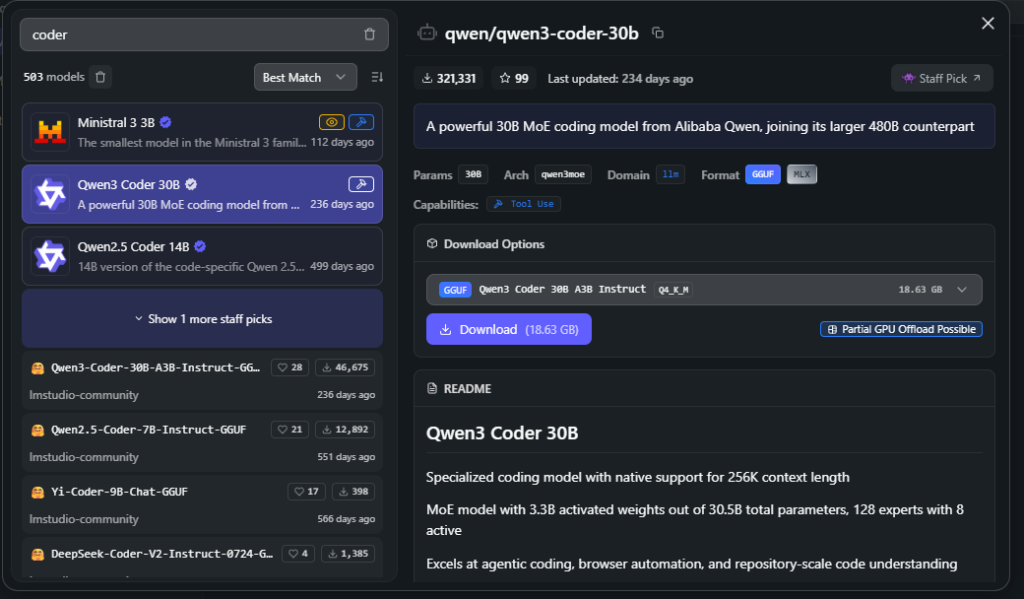
This is not the same as just injecting RAG data into an existing vector database (that would be easy). Instead we rented a GPU rack that is building an LLM model specifically for Quartex Pascal. We based the model on the latest Qwen3-Coder series, so the baseline is already highly specialized for programming tasks and fluent in a myriad of languages. When the model comes back it will be quite large (somewhere in the 85 gigabyte range) and needs to be pruned. When the pruning is done we will have a model between 10 and 18 gigabytes (read: normal size).
The benefit of having our own LLM is that it can easily be hosted on our domain and used for automation. But it also means our customers can run our model locally, which further reduces cost compared to Claude or the other commercial solutions. There is also something about being in control of your own AI.
Ai changes everything
Like most developers in their 40s and 50s we are used to IDE’s where we, the human developer, is all that matters. While I still think that is valid – there is no escaping that AI changes how we view and use an IDE.
One of the core design goals for Quartex Pascal was to not add a lot of crazy complex functionality to the IDE which becomes impossible to maintain over time. Instead, I wanted to keep the IDE small, compact and instead keep refining the most commonly used IDE functionality (read: what you expect to find) until that becomes as good as humanly possible.
I think this design philosophy is it’s own reward right now, because had we gone crazy and added a ton of functionality, stuff that would now be replaced by an AI, we would have to maintain a ton of features that no longer makes sense. Of at least is starting to lose it’s importance as LLM evolves.
The benefit of AI is not so much that it takes over. An AI is good at doing the boring parts, the repetitive tasks, the boilerplate stuff – leaving you to focus on what you actually want to create. An AI has by definition no actual creative spark, there is no observer there. And while it’s become very clever at finding solutions to surprisingly complex tasks — you still need an environment where you can implement code or techniques that are new, or novel, or breaks with tradition in some way.
So instead of us adding everything from fancy recordable macros to advanced refactoring functionality which is rapidly becoming extinct — we will instead focus on making the fundamental features shine.

For example, spending weeks on a CSS theme designer would be cool ( would actually love that). But I think most people will just explain how the CSS styling works in QTX to the AI, and it will spit out a much better looking new CSS file in a couple of minutes.
The same goes for graphics. Eventually we will no doubt add AI graphics generation to the system, which means the AI will literally be able to spit out not just code, but also the graphics for a website, game or app you are making.